5 Ways to Improve Your Website’s Accessibility (no coding!)
Making sure your website is accessible is so important. When your website is accessible, the content can be accessed by everyone. People with disabilities may access your website using assistive technology. These “disabilities” include blindness, partial blindness, dyslexia, elderly users, deafness, partial deafness, cognitive or physical conditions, and more.
When you follow best practices for accessibility, you’re ensuring that people can access your website from any device. It’s the right thing to do, and in many places it’s the law.

Many accessibility techniques and features are the responsibility of web developers (like me). I find that non-developers may have heard of accessibility but find it overwhelming and don’t know where to start. That’s why the tips in this article are for website users, not developers. As you update your website and add more content, there are lots of things you can do to ensure your website is accessible. 🙂
Topics (click to jump to each section):
- Set “alt text” for every image on your website
- Make sure links open in the same tab
- Avoid using “click here” or “learn more” for links
- Use headings to structure your posts or pages
- Install the WP Accessibility plugin
- Resources & further reading
1) Set “alt text” for images
Every image on your website needs to have alternative text. The only exception are graphics that are purely there for decoration. For decorative images leave the alternative text blank.
How “alt text” is used
- Alternative text is read to people accessing your website via a screen reader or other assistive technology.
- Alternative text appears if the image link is broken
- Search engines (ie. Google) index alternative text to understand the content of your images
What to write for alternative text
Alternative text should be brief and explain the image’s content. Remember to write new information; don’t repeat information you’ve mentioned elsewhere on the page. The same image, used in different articles, may have different alternative text. This is because the alt text is relative to the article’s content. When writing alternative text, I often ask myself: how would I explain this image to someone who cannot see it?
You don’t need to include phrases like “image of” or “portrait of”. People using screen readers know the item is an image. Screen readers announce the content type (such as “link” or “image”) before reading their content.
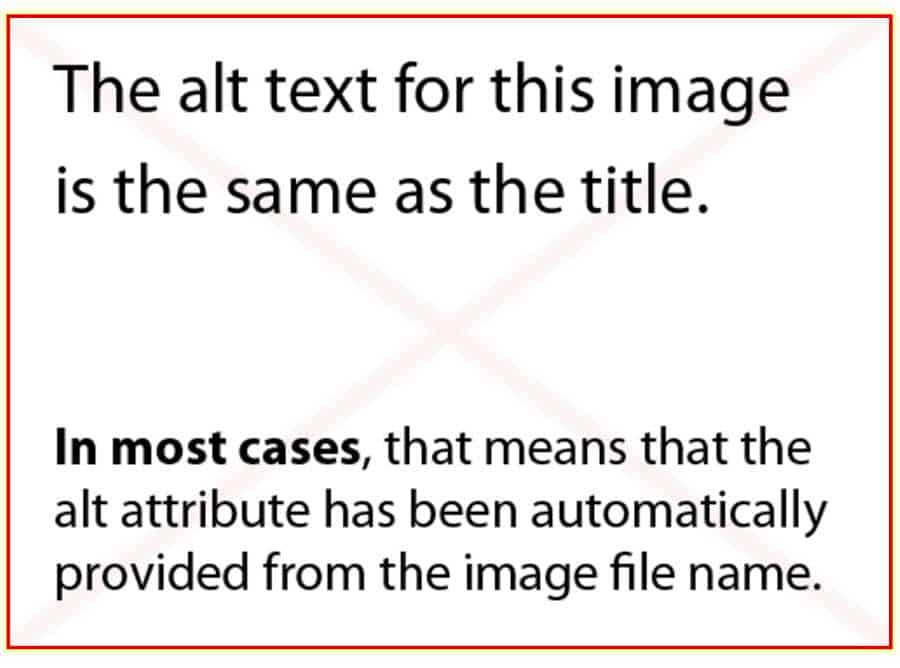
If you don’t set alternative text WordPress will use the image’s title. The title of the image usually comes from the filename. Filenames are often generated from your camera; a screen reader reading “IMG_0026” is not very helpful. Take the time to add a short description to every image you use on your website.
2) Open links in the same tab
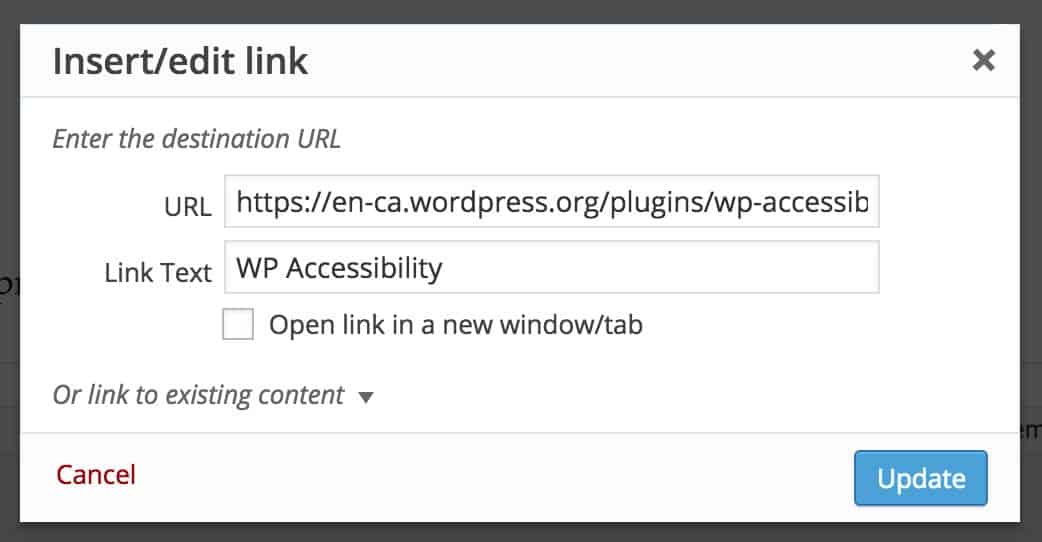
When you insert a link on your WordPress website, it provides the option to open the link in a new window/tab. A lot of people use this option for external links (ie. links outside your website). I strongly recommend never using this option. Do not tick off the box!
Why all links should open in the same tab/window
- Opening links in the current tab/window is the default browser behaviour; it’s what people are used to.
- People accessing your website via assistive technology often rely on their keyboard for navigation:
- If you force a link to open in a new tab/window, they will lose their spot on the current page.
- However, if the link opens in the same tab/window, people can easily hit the “back” button on their keyboard to return to the previous page.
- If someone really wants to open a link in a new tab, they can! Let your website’s visitors make the choice for themselves.
3) Avoid using “click here” or “learn more” for links
People read the content of a link to decide whether or not to click the link. For users navigating the web via screen reader, their screen reader will read out the link text. If the link text says “click here”, there is no context and it is difficult for people to understand where the link goes. Link text should be able to stand on its own.
When you write link text, consider where the link leads. If you have a button that leads people to your services page, the link could say “view our services” rather than “learn more”.
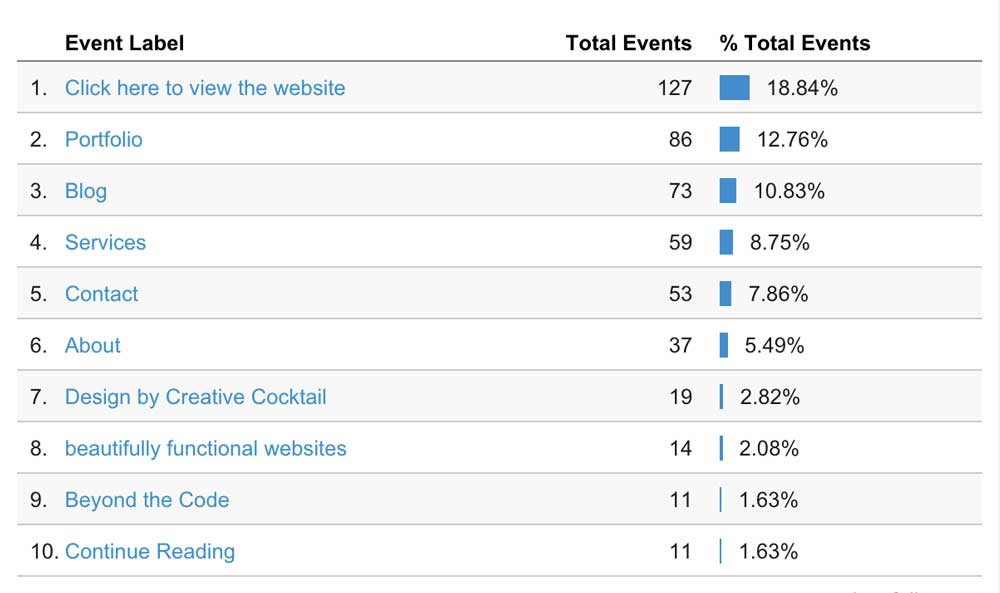
Having descriptive link text is also great for analyzing your Google Analytics data. On the portfolio pages of my website, I used to have links that said “click here to view the website” on each project. I recently updated it to the website’s URL instead. It’s now much easier to see what links people clicked on when I view the event section in my Google Analytics data.
4) Use headings to structure your content
Use headings (h1, h2, h3, h4, h5, h6) to structure your page and post content. Typically your website sets the page’s title as an h1. An h1 is a level 1 heading. Use headings in order. Start with an h2, use an h3 next, then an h4, and so on.
In WordPress, you can insert headings using the drop-down menu in the main content editor (right below the bold and italic options).
Why headings are important
- Accessibility
- Screen readers announce the heading level. For example, this section would read “Heading level 3: Why headings are important”.
- Knowing the heading level gives the user context. This is why it’s important to use headings in order. An heading level used out of order is confusing for people using assistive technology.
- Readability
- Using headings for structure makes it easy for people to scan the content. Think of the headings of your post like an outline of the whole page. Scanning the headings should provide insight into the content and help people decide whether or not to read that section.
5) WP Accessibility plugin
The WP Accessibility plugin is a great way to improve your website’s accessibility. Install and activate the plugin to access its features. Once installed, it adds a new tab under your Settings menu. Look for “WP Accessibility” under to adjust the settings.
Recommended Settings for the WP Accessibility Plugin
I recommend ticking off the following options in the WP Accessibility plugin. If you worked with a developer to build your website, check with them to see if any of these features are built-in to your website.
- Remove target attribute from links
- The “target” attribute is what makes links open in a new tab/window. By removing the target attribute, you’re ensuring that all links will open in the same tab/window.
- Remove title attribute from images inserted into post content and featured images.
- Whenever you insert an image into the WordPress editor (sometimes called the WYSIWYG – what you see is what you get), WordPress inserts the title and alt text for the image.
- The title tag has been around for a long time and exists for links, forms, images, and other web elements. Most screen readers do not read it. This means any information in the title tag is not accessible to people using assistive technology.
- Use the alt text attribute to provide information about an image. You can also use the caption attribute to provide information for everyone. Information in the caption field should be different than the alt text.
- Add post title to “more” links.
- People accessing websites via keyboard or a screen reader often use the tab key to navigate between links and buttons on a page. A screen reader will read out the text of a link. If the text only says “Continue Reading” or “Learn More”, it doesn’t offer much context.
- Once the post title is added to the link, for an article titled “How to Manage Your New WordPress Website”, the user would hear “Continue Reading How to Manage Your New WordPress Website”.
- I set this up on each new WordPress website I build. If you worked with a developer or purchased a WordPress theme, check with them to see if they set this up. If so, you don’t need the WP Accessibility plugin to do it for you.
Further Reading:
- Alternative Text – Web AIM (all about alternative text and why it is so important)
- Links & Hypertext – by Web AIM
- Headings and why you should use them – Yoast
- Title Attribute – Web AIM (all about the title attribute)
- Intro to Designing and Coding for Accessibility – Adobe (interview with Avery Swartz)
- Wave AIM – great tool for checking the accessibility of your website. I use this on every website I build.
- Eight Things Designers Can Do to Improve SEO, Accessibility, and Performance – Zoe Rooney
This is really interesting and something I’ve never even known to think about for my site! Added to my buffer so others can implment these things too 🙂
Thank you Megan! Accessibility is definitely one of those things not everyone knows about. The best part is that accessibility best practices are typically also best practices for search engine optimization and user experience.
Let me know if you have any questions about accessibility – I might do another post on it. 🙂
I knew some of these steps were important for accessibility (one of my best friends works with vision and hearing impaired people), but this is such a great guide. I’m Pinning it to my Freelancer Resources board 🙂
Yay! I’m so glad you learned something new from my post, Naomi. Amazing – thanks for sharing my post. Accessibility is so important – love that my post is helping others learn about it. 🙂
Great Article, Melissa! Really trying to get to grips with accessibility best practices at the moment and this has really helped. The only thing that would make it even better would be some examples of images with good alt-text so we know what to aim for when writing it. Thanks for writing this!
Pingback: Reflections on 2015 and goals for 2016