How to Manage Your New WordPress Website
When I launch a client’s new WordPress website, I meet with them to offer tips on best practices for managing their brand-new website. This includes a Website Guide tailored to their website, tips on security, social media and more.
I offer similar advice in a lot of these sessions so I thought I’d publish them for everyone to read. In this post, I’ll go over tips for optimizing, managing, and making the most of your WordPress website. This guide is written with my clients in mind, and should be useful for anyone curious about their WordPress website.
Topics (click to jump to each section):
Preparing Images For Your WordPress Website
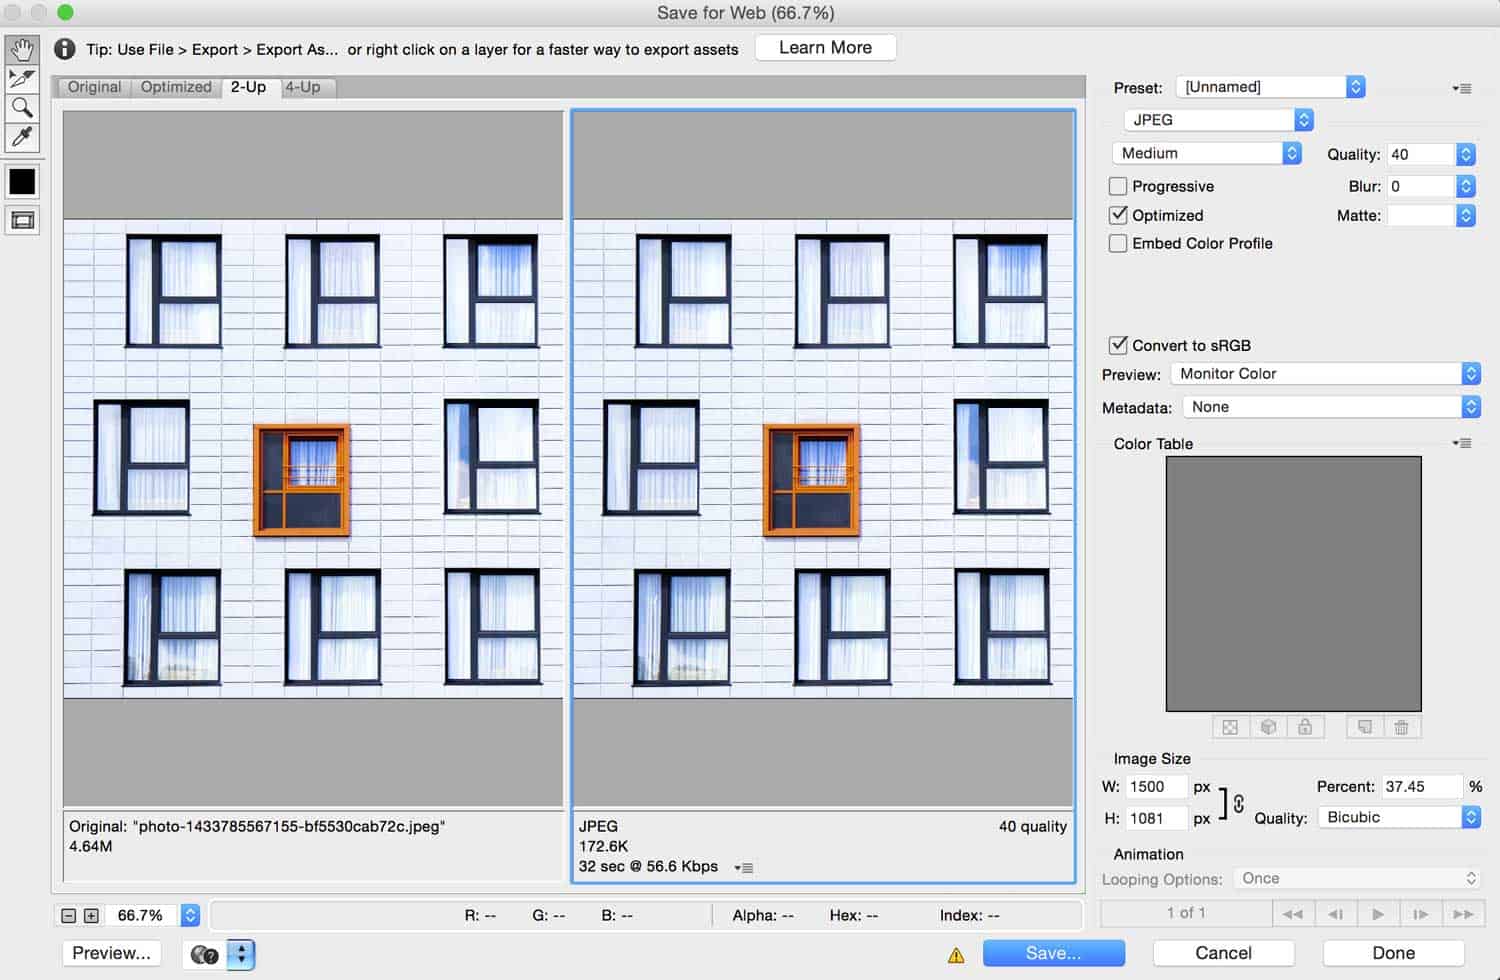
The file size of your images affects how quickly your website loads. It’s important to take the time to optimize your images before uploading them to your website. By “optimize” I mean preparing your images for the web – resizing and reducing the file size. Images straight out of your digital camera could be 3000 x 4000 pixels. You don’t need images to be that big on the web!
Optimizing Images 101: Resize the Image
- If you have Photoshop, go to File > Export > Save For Web (this may vary depending on what version of Photoshop you have)
- If you don’t have Photoshop you can use Pixlr (it’s online and free). Upload an image and go to Adjustments > Resize
- Adjust the pixel dimensions of the file. Pixlr and Photoshop will both automatically keep the proportions of your file. Depending on the size of your website content I suggest an approximate maximum size of 1500px wide.
Optimizing Images 101: Adjust the Quality
- In Photoshop’s Save For Web menu – play with the Quality setting and see how it adjusts the file size. (The file size is displayed on the bottom left by the preview image). I recommend somewhere between 40 – 50, but will go as low as 30. You want to aim to reduce the file size as much as possible while maintaining the quality.
- In Pixlr, Save the image with the updated file pixel resolution. When you click Save, a menu will pop up with a slider for image quality. Use this to tweak the image quality until you are satisfied with the file size.
See the image at the beginning of this section? It was originally 2.8 MB! After using Photoshop’s Save for Web options, I reduced it to 188 KB (there are approximately 1000 KB in 1 MB). Smaller images mean faster loading web pages! Example image is from Unsplash and by Edgaras Maselskis.
Further reading: my friend Dara Skolnick wrote a lovely post on images, DPI, and more: What DPI do web images need to be? (spoiler alert: it doesn’t matter).
Uploading and Setting Alternative Text for your Image
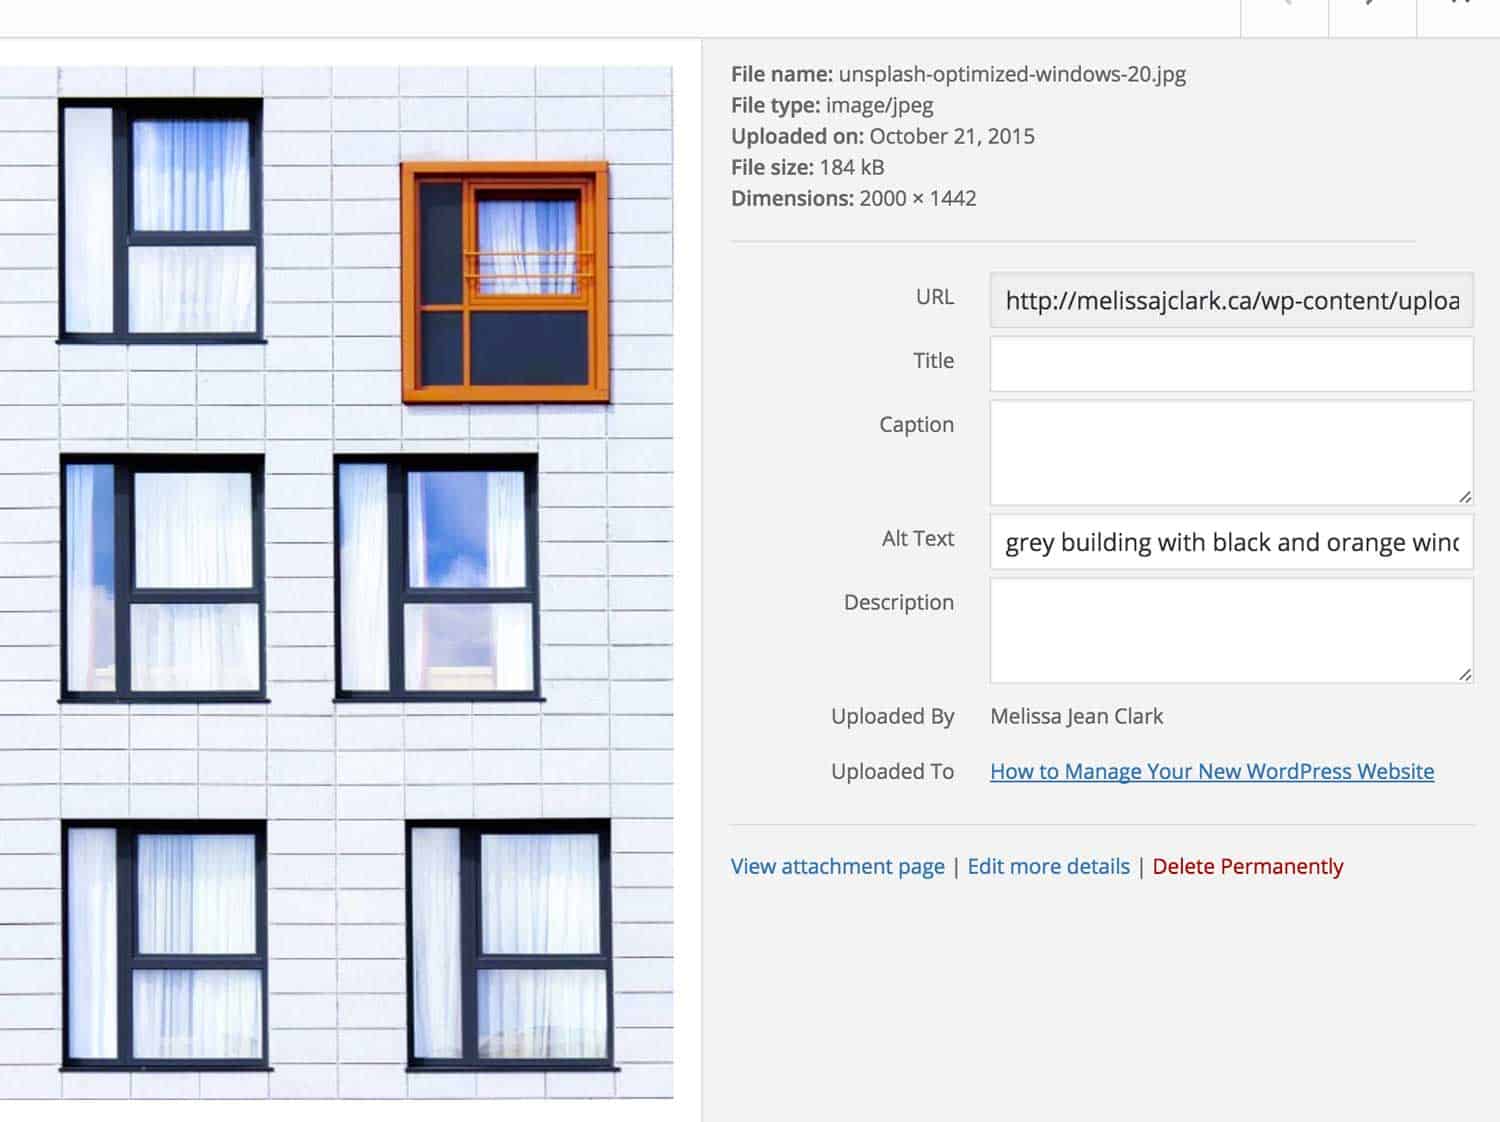
Now that your image is small (but still beautiful), it’s ready to upload to your website. Once you upload the image to your Media Library, you have one more important step: adding alternative text. Every image on your website should have alternative text. Alternative text is read to visually impaired users to explain the image, and may also come up in search engine results.
Alternative text should be a short description of the images content. If it’s a portrait of someone, I usually put their name as the alternative text. Ask yourself: If I couldn’t see this image, what would I want to know about it? Keep it brief but descriptive.
Recommended Plugins + Choosing Good Ones
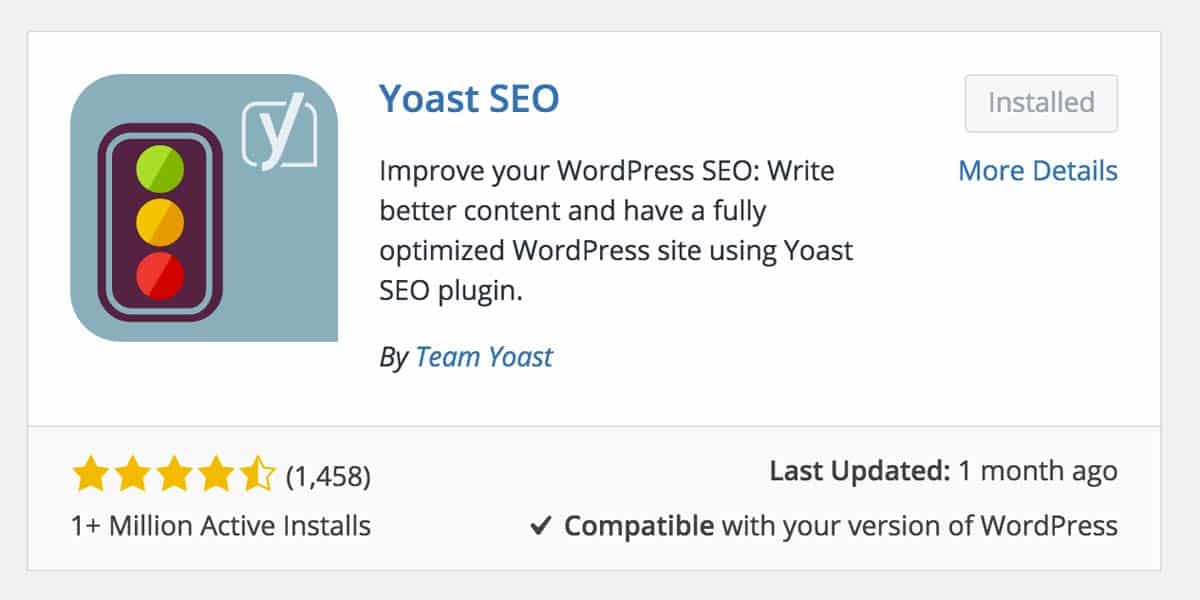
WordPress plugins are a huge part of what makes WordPress so great. In just a few clicks you can set up additional functionality for your website. In a nutshell, a plugin is an additional piece of software that adds more features to your website. There are a lot (millions) of WordPress plugins out there. Not all are created equal.
What to check before you install a plugin:
- When was it last updated?
- Do not install a plugin that has not been updated for a year!
- How many people are using it?
- If over a million people are using it, you can safely assume it is trustworthy. If only 4 people are using it, I would try and find an alternative.
- Is it compatible with your version of WordPress?
- WordPress comes out with updates fairly often. You want to make sure the plugin will work with the version of WordPress your website is using.
- Does it do what I want it to do?
- Sometimes you won’t know this until you install it. However, you can click the More Details link to read more, and visit the plugin’s page in the WordPress plugin listings to read more.
- On the plugin’s WordPress page, you can read reviews from others, and learn more about what it can do for you.
Useful WordPress Admin Plugins
There’s lots of neat plugins that can improve the WordPress back-end. These can make managing your website easier, and help you navigate between posts or pages while updating on your website. I’m recommending plugins that I personally use, and will update this post if I find any more.
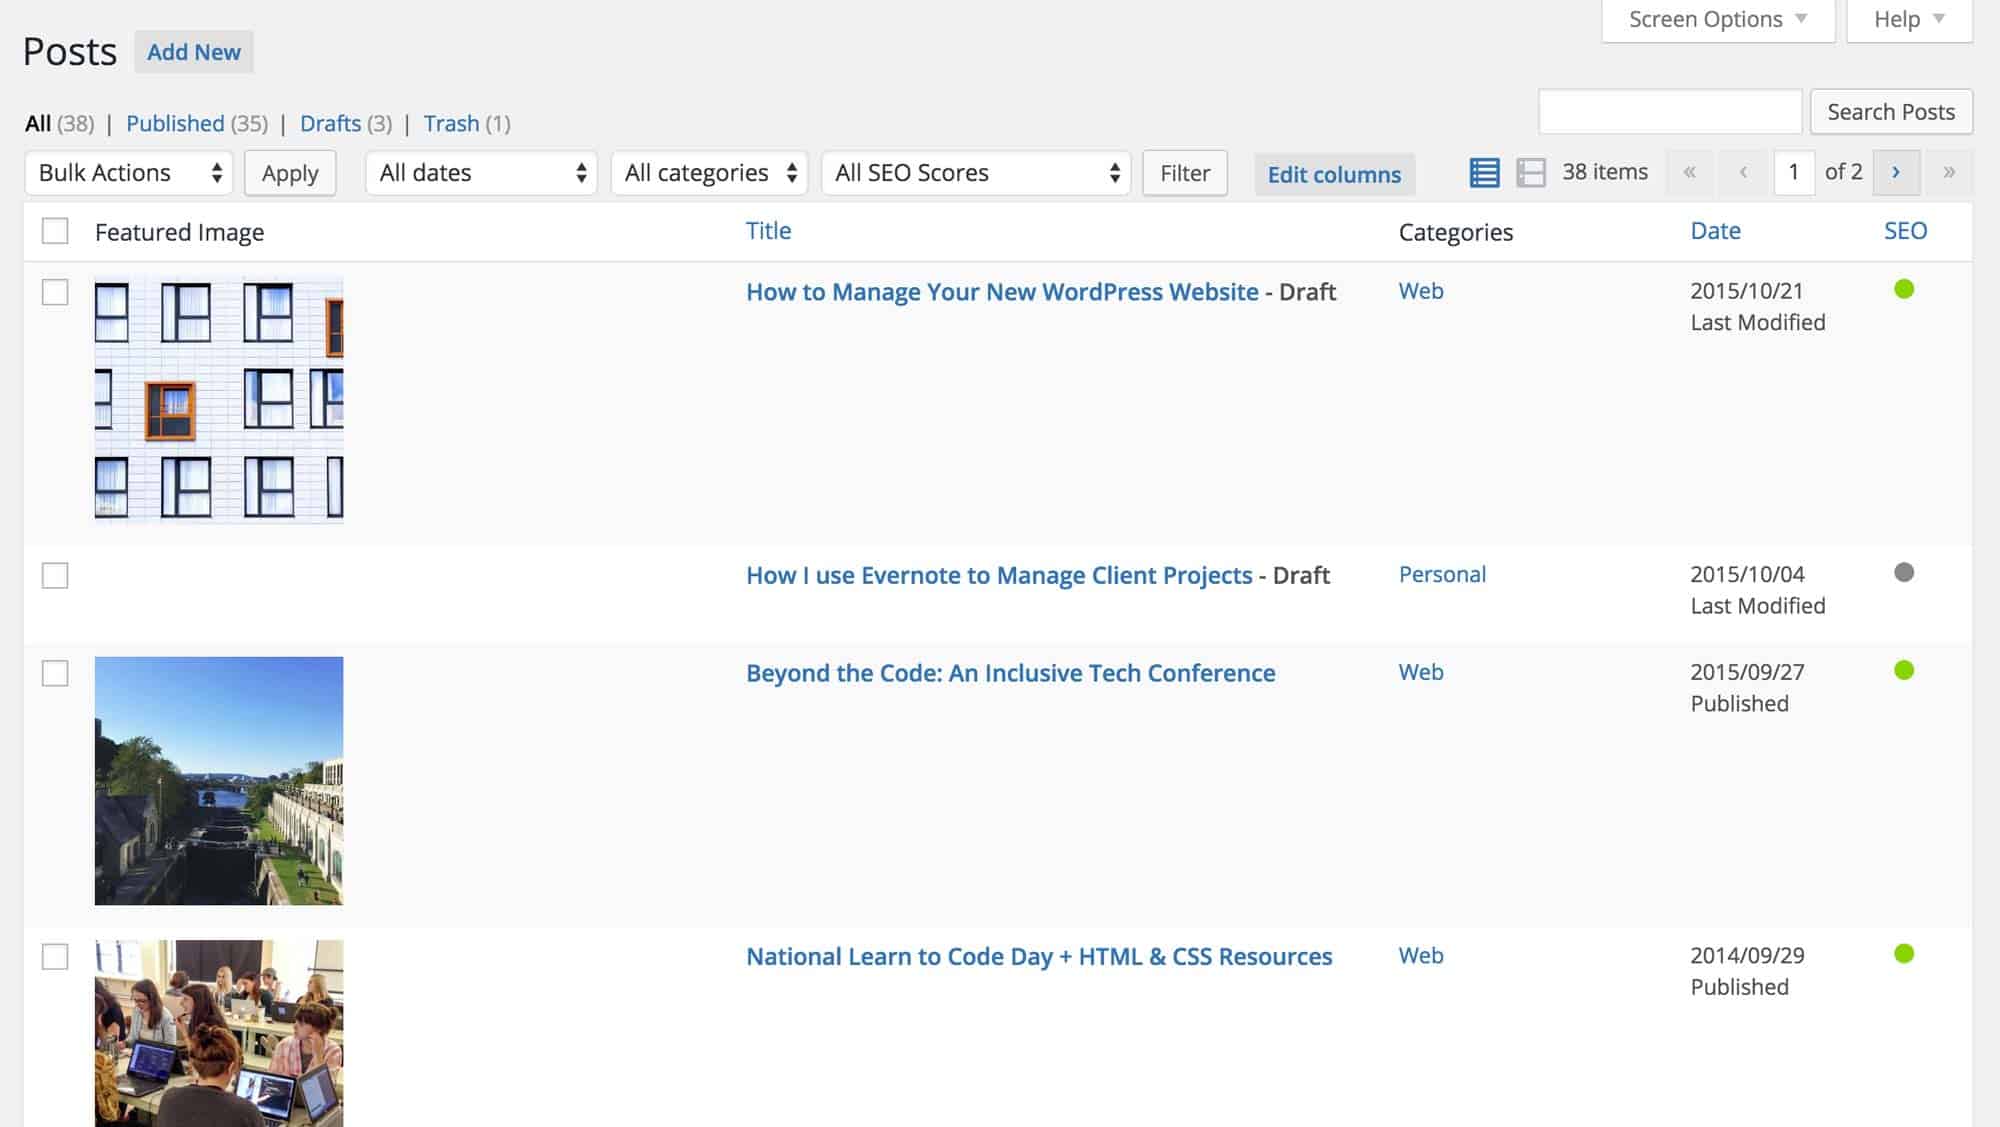
- Admin Columns
- This plugin lets you re-organize the columns shown when you’re viewing all of your Pages, Posts, or other types of content such as the Media Library.
- Once activated you have a new “Edit Columns” button on your admin pages. I often add a Featured Image column. On my website, I am the author of all content, so I removed the Author column.
- Admin Post Navigation
- This plugin adds Previous and Next buttons in the post editing screen. Super useful if you’re going through posts, or updating a lot of new content on your website.
- WordPress Editorial Calendar
- Lovely plugin for keeping track of your scheduled posts.
Further reading: Zoe Rooney’s post Two “Where have you been all my life” WordPress plugins has some more great suggestions.
Useful WordPress Plugins for Social Media + Analytics
There are a few plugins that I install on every single WordPress website I build. These plugins optimize your website for social media sharing, help you with SEO, and connect your website to Google Analytics so you can better understand your visitors.
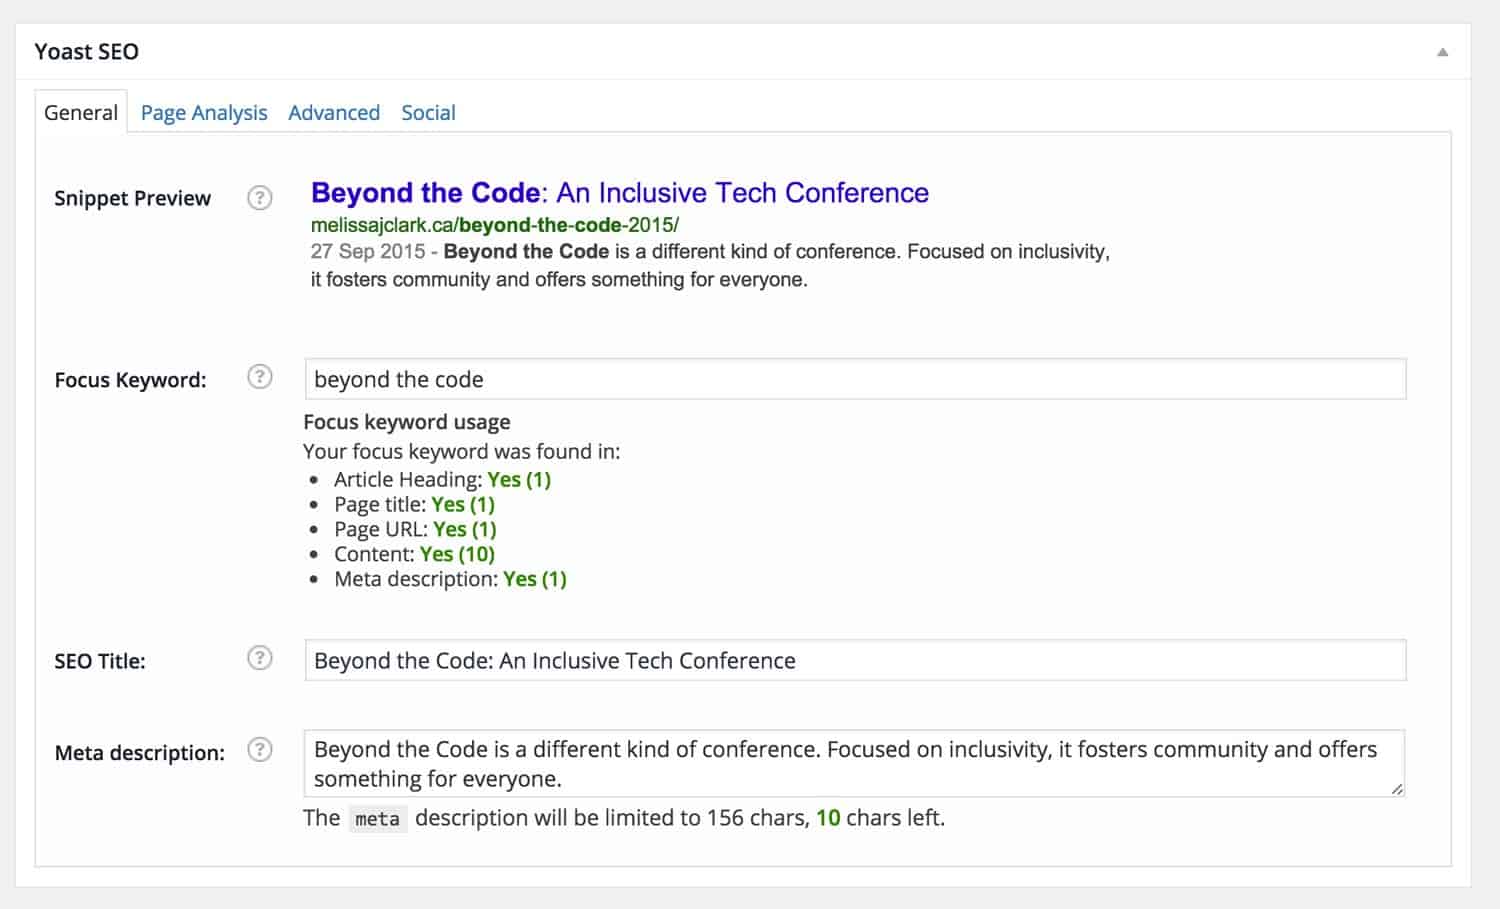
- Yoast SEO
- This plugin gives you control over the metadata for each page or post on your website. This metadata is shown when your content is shared elsewhere online (ie. if you share your blog post on Facebook).
- By using the “Social” panel, you can set a specific image and description for when the post is shared on Facebook or Twitter.
- Google Analytics by Yoast
- This plugin connects your website to your Google Analytics account and adds a mini dashboard right in your WordPress website.
- GM Block Bots
- A lot of people (including myself and my clients) have noticed spam in their Google Analytics data recently. This plugin blocks a lot of the common bots and spammers. The best part is that they update it frequently. You can even email them a request to block a website.
- Akismet
- This powerful free plugin blocks spam comments and contact form entries on your website. I activate it on every client website.
- Redirection
- Re-arranging your content? Keep track of the old links and use this plugin to set up 301 redirects. A 301 redirect is a permanent redirect of a URL. Use this plugin to ensure your website’s visitors still find your content, even if you change the link.
Are there any WordPress plugins you use on every website? I’d love to hear! I’ll update this post with useful suggestions. 🙂
Ahh I am excited about this and bookmarking it for sure! I just took on a client who wants me to handle some of their WordPress stuff (not design or development, thankfully), and WP seems overly complicated to me, so I need all the help I can get. Thank you for this!
Thanks so much Jordan! Glad to hear it was useful for you. Let me know if you have any questions about WordPress – I’d love to do more blog posts like this. 🙂
Pingback: Reflections on 2015 and goals for 2016
Hi Melissa!
It’s been a few years since you wrote this post. Would you do anything differently in 2018?
Good question!
Honestly … no. I still use and recommend all of these plugins. The Google Analytics plugin I mentioned has a new owner and a ton of new features. If anything, these plugins have gotten better over the years. 🙂
Awesome sauce. Thank you!